Adding Content to a Scene
To add content to a Scene, from the Home Page:
-
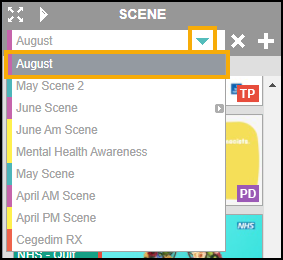
Select the required scene from the drop-down:
-
Drag and drop the ADDING POSITION marker to where in the scene you want the content to be added:
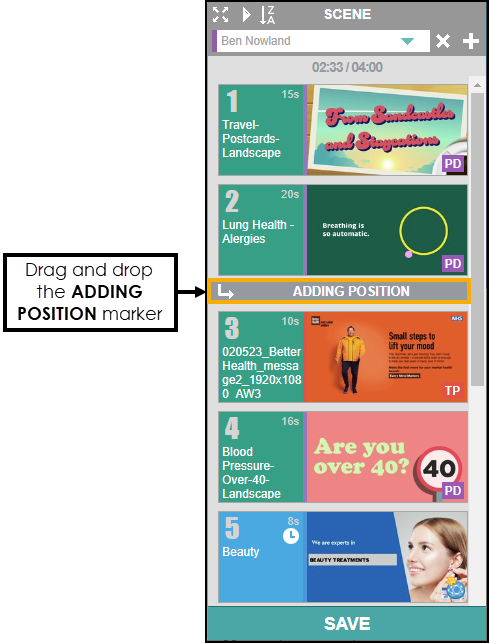 Note - The content is added to the bottom of the scene when the ADDING POSITION
 marker is not moved.
 -
Locate the required content from the Content Library.
See Searching for Content and Filtering Content for more details. -
Hover over the required content and select Add to Scene
 . The content is added below the ADDING POSITION marker or at the bottom of the scene list when the ADDING POSITION marker is not moved:
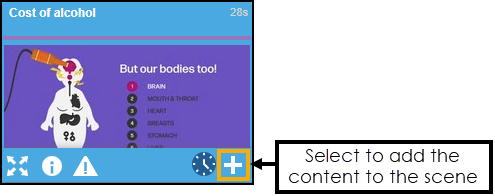
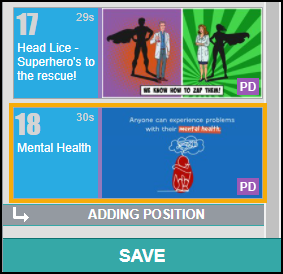
When adding new content to the scene the name displays in blue:
-
Select Save
 to save the scene:
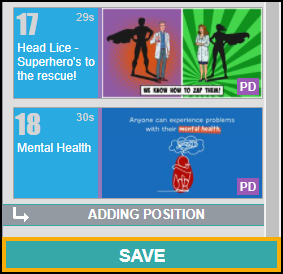
-
If you have made changes to an existing Scene a prompt displays to either save or duplicate the Scene:

Select from the following:
-
CANCEL - Cancel the save command.
-
DUPLICATE - Enter another Scene name, select a different colour if required and select Duplicate to save as a new Scene.
-
SAVE - Save the existing Scene.
-
View the following video to see how to add content to a scene:
Creating a New Scene and Adding Content (1:41)