CRx Chat
CRx Chat has various settings that can be adjusted to tailor the functionality to your business. When activated it is used to alert a patient that their prescription is ready to collect. This topic guides you through the process of setting up and using SMS Messaging, after your CRx Chat order is processed.
Activating SMS
To activate SMS Messaging from the SMS screen:
-
From the Pharmacy Manager Toolbar, select Tools - Settings. The Settings screen displays.

-
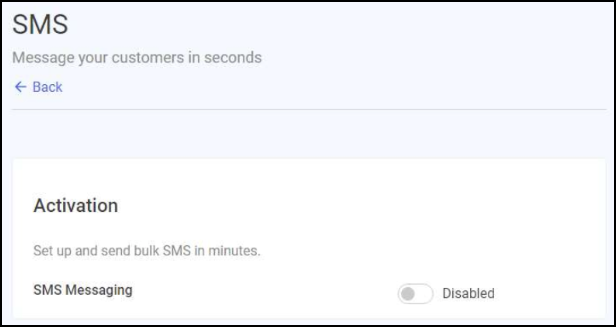
Select SMS. The SMS screen displays.
-
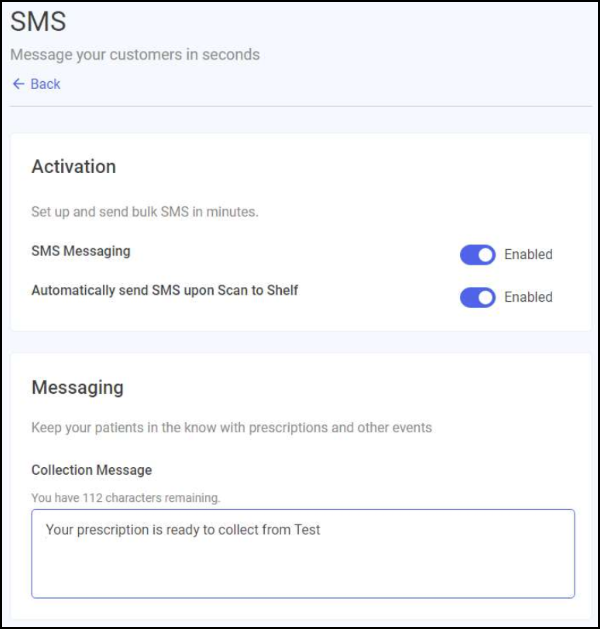
From the Activation section, select the SMS Messaging toggle to activate SMS.
-
When activated, the Automatically send SMS upon Scan to Shelf option displays and activates by default.
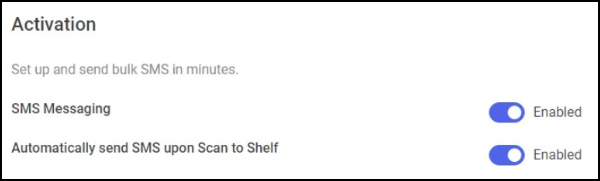
Select the toggle to deactivate it if you do not want to send SMS messages upon scanning to shelf.
If you have made updates, select SAVE CHANGES  to update your settings.
Messaging
Use the Messaging section to compose a generic message to send to patients when their prescription is ready to collect:

-
In the Collection Message section, type the message you want to send to patients when their prescription is ready to collect.
Training Tip - The default auto-populated message is 'Your prescription is ready to collect from {Pharmacy Name}' with {Pharmacy Name} pulled from Tools - Settings - Pharmacy Details - Pharmacy Name. You can customise the Collection Message if needed, but it must not exceed 160 characters.
If you have made updates, select SAVE CHANGES to update your settings.
SMS Exclusions
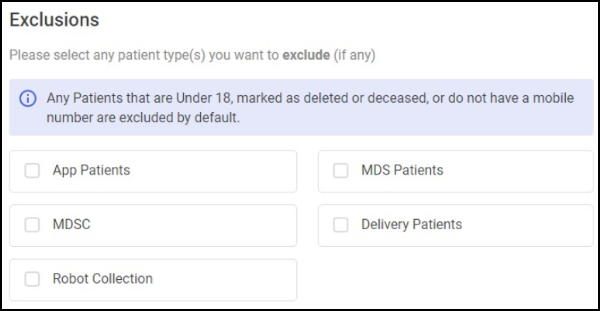
The Exclusions section enables your pharmacy to exclude certain patient types from receiving SMS messages when their prescription is ready to collect, for example, patients who have their prescriptions delivered.
To exclude a patient type from receiving a message:
-
Select a patient type from the available list:
-
App Patients
-
MDS Patients
-
MDSC
-
Delivery Patients
-
Robot Collection
-
If you have made updates, select SAVE CHANGES to update your settings.
Message Send Hours
SMS messages will be sent during the default hours of Monday to Sunday between 9am and 5pm unless you want to change this.
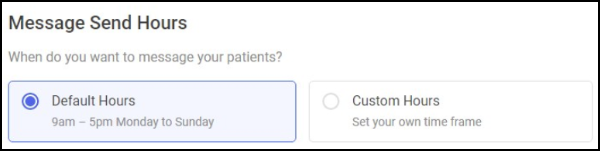
To change the times that you want to send collection messages to your patients:
-
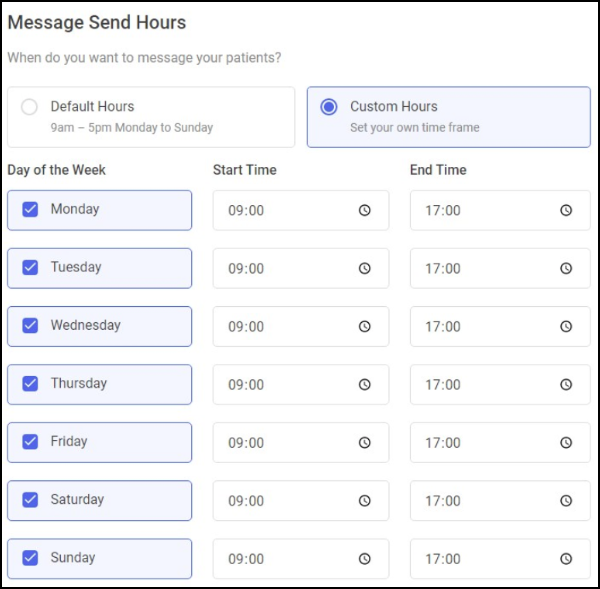
Select Custom Hours. A week template displays.
-
Below the Day of the Week column header, tick the days you want to send SMS messages on.
-
Select a Start Time and an End Time for each day.
If you have made updates, select SAVE CHANGES to update your settings.